ABC
docz
Explore
Log in
Create new account
Download
Report
sports
skating
figure skating
USER MANUAL RUMISOFT K
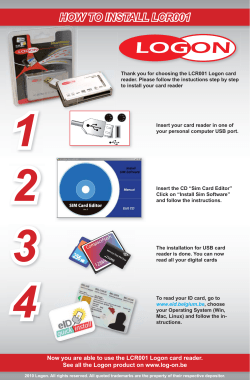
HOW TO INSTALL LCR001
Student Gains From Place-Based Education
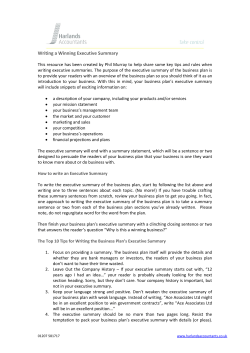
Writing a Winning Executive Summary
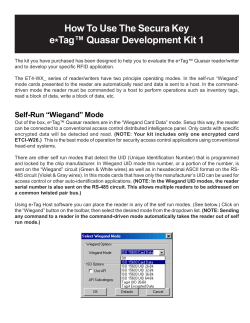
How To Use The Secura Key e*Tag™ Quasar Development Kit 1
How to Write a Persuasive Business Letter: 30 Rules
S.E.T. Awards ENTERTAINMENT INDUSTRIES COUNCIL ANNOUNCES HONOREES FOR S.E.T. AWARDS
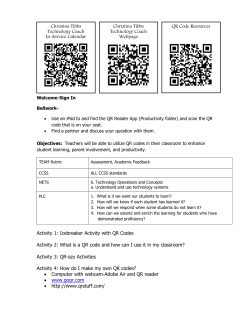
Christina Tibbs QR Code Resources Technology Coach InService Calendar
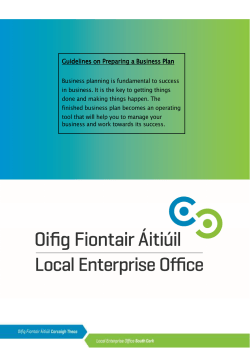
Guidelines on Prepar Guidelines on Preparing a Business Plan
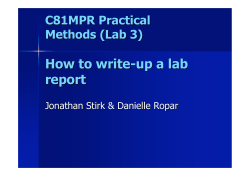
How to write-up a lab report C81MPR Practical Methods (Lab 3)
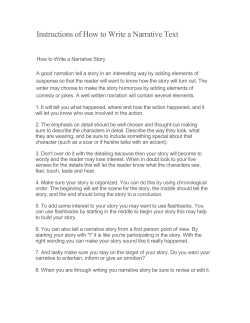
Instructions of How to Write a Narrative Text
© Copyright 2026
About abcdocz
DMCA / GDPR
Report