ABC
docz
Explore
Log in
Create new account
Download
Report
technology and computing
hardware
computer peripherals
printers, copiers and fax
printers
RL HW / RL HW+ / RL HGW / RL HV / RL HVPW
This Mother`s Day give the gift of younger looking skin!
INVITATION TO: - Diowave Laser
Sparklike Gasglass Laser: Non-Invasive IG Gas Analyzer
Hiring - EB Laser Tag
Personal Profile and Health History
Alpha-C Sports Field Laser Brochure
Panduit S100X150FAL datasheet: pdf
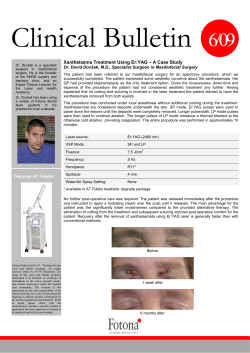
Clinical Bulletin 6/09 Xanthelasma Treatment Using Er:YAG – A Case Study
© Copyright 2026
About abcdocz
DMCA / GDPR
Report