ABC
docz
Explore
Log in
Create new account
Download
Report
No category
Cadillac CTS-V Intercooler Radiator Kit With Temperature Controlled Auxiliary Fans
MISHIMOTO ENGINEERING REPORT
GReddy Turbo Kit 2
INSTALLATION INSTRUCTIONS TURBOCHARGER SYSTEMS: 2004- Scion TC
Air and multipurpose hose Introduction Page
Edelbrock 2010-2014 Camaro SS Supercharger Part #’s: 1596, 1597, 1598, 1599, 15997
Company of 1415 Dress Standards
Ford Mustang 4.6L SOHC
Supercharger Installation Manual 2010-2011 Chevrolet 6.2L Camaro Last Updated: March 2
OffshOre & marine hOses and accessOries
free 1 skill level
/
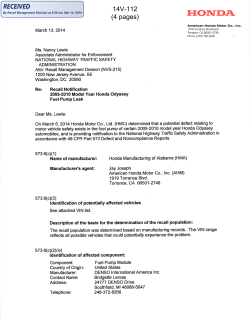
14V-112 (4 pages)
© Copyright 2026
About abcdocz
DMCA / GDPR
Report