
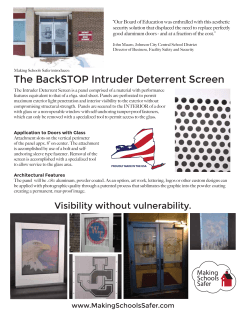
EFI VUTEk Glass Printing on Hybrid Printers
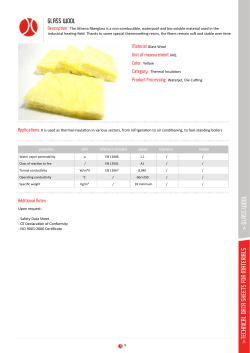
EFI Inkjet Solutions Printing Tips & Tricks
Glass Printing on EFI VUTEk Hybrid Printers
Good adhesion to glass has always been difficult to achieve.
As a result, graphics for glass applications had to be printed
first on a clear, flexible substrate and, then, applied to the
glass. That meant extra steps, possible installation issues,
and the risk of wear and tear to the applied substrate over time.
EFI™ developed a process to print an image direct to glass,
eliminating the need for extra substrates, and application
printing and installation time. Accomplished by using EFI
Glass Cleaner and Primer, the process works when using
any EFI VUTEk® hybrid printer.
EFI senior applications specialist, Brian Bernard, explains
the glass printing process here. This process was developed
and works best on tempered glass (results may vary on
other types of glass).
Use EFI’s Glass Cleaner and Primer to prepare
the glass for printing.
Items you will need:
• Short wave UV light
• Clean cotton gloves
• Clean wipes
• EFI Glass Cleaner and Glass Primer
• Conveyer style oven with a high temperature setting
• Heat-resistant gloves
Step 1: Identifying the Print Side of the Glass
While glass appears to be clear, there is actually one side
that will appear foggy when viewed with a short wave UV
light. Take your sheets of glass into a dark room. Hold the
short wave UV light close to the sheet of glass and determine
the foggy and non-foggy sides. You will print on the non-foggy
side of the glass.
Step 2: Cleaning the Glass
Put on your cotton gloves and leave them on for remainder
of the process. Do not use Latex or Nitrile gloves—oils from
your hands will get on and contaminate the glass. Spray a
liberal amount of EFI Glass Cleaner on the print side of your
glass sheet. Take a clean wipe and clean the media, making
sure to wipe-down the entire surface of the sheet. Continue
wiping until the glass surface is dry.
EFI uses the Black Body brand conveyor style oven
shown here to produce printed glass samples.
Glass Printing on EFI VUTEk Hybrid Printers continued
Step 3: Priming the Glass
Spray a liberal amount of EFI Glass primer on the cleaned
sheet of glass. DO NOT use the same wipes you used to
clean the sheet. Take a new clean wipe and spread the
primer evenly onto the entire surface of the sheet.
Continue until the primer appears to be dry.
Step 4: Printing
With your cotton gloves still on, move the cleaned and
primed glass sheet to the printer. Print the image/graphic
onto the glass.
Step 5: Baking
Place the glass sheet print side up into the oven. Conveyer
style ovens work best. Set the oven temp to 650 degrees
Fahrenheit and the conveyer belt time so that prints run
through the oven for 10 minutes.
Step 6: Removal and Cooling
Be sure to have heat-resistant gloves to remove the glass
from the oven; the glass will heat up to 650º F.
Using high temperature, heat-resistant gloves, remove
the glass from the conveyer belt and set aside to cool for
approximately 30 minutes. Be sure to place the glass
somewhere no one will accidentally touch it, as it will be
very hot.
At this point, the process is complete. The heat bonds both
the primer to the glass and the ink to the primer. You now
have a finished graphic printed direct to glass and ready to
ship out to your customer.
Based on regular printer usage. Results may vary. EFI IS NOT RESPONSIBLE OR LIABLE FOR ANY ERRORS OR INACCURACIES, MAKES
NO WARRANTY OF ANY KIND (EXPRESS, IMPLIED OR STATUTORY), AND EXPRESSLY DISCLAIMS ANY AND ALL WARRANTIES OF
MERCHANTABILITY, FITNESS FOR PARTICULAR PURPOSES, AND NON-INFRINGEMENT OF THIRD PARTY RIGHTS.
© 2013 Electronics for Imaging.


© Copyright 2026