
Document 25511
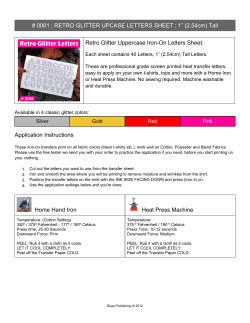
SUPPLIES & TOOLS:
Glitter Paper Letters - Dream
• One sheet each of red, orange, yellow, green, aqua, blue and purple American Crafts Glitter Paper
• 8” tall paper mache letters, to spell "dream"
• Adhesive
• Pencil
• Craft blade
DIRECTIONS:
skill level
1
1. Cut two 1”x12” strips from each sheet of glitter paper.
2. Put adhesive, preferably a white kraft glue, on the front of the letter “R”.
3. Starting at the top, adhere strips of glitter paper horizontally in rainbow order until entire letter is covered. Allow
to dry, then trim off excess glitter paper with a craft blade.
4. Trace the paper mache letter “D” face down onto the back of the remaining red glitter paper. Cut out letter from
paper, adhere to the front of the paper mache letter.
5. Trace the paper mache letter “E” face down onto the back of the remaining blue glitter paper. Cut out letter
from paper, adhere to the front of the paper mache letter.
6. Trace the paper mache letter “A” face down onto the back of the remaining aqua glitter paper. Cut out letter
from paper, adhere to the front of the paper mache letter.
7. Trace the paper mache letter “M” face down onto the back of the remaining green glitter paper. Cut out letter
from paper, adhere to the front of the paper mache letter.
Created by American Crafts
Skill Level 1: No Experience Necessary
more projects, tips & techniques at Joann.com®
free
Approximate Crafting Time: Varies
Please read and follow all manufacturers’ instructions for all tools and materials used.
Provide adult supervision if children participate in this project.
©2012 Jo-Ann Stores, Inc.


© Copyright 2026