ABC
docz
Explore
Log in
Create new account
Download
Report
art and entertainment
visual art and design
design
How to Repair an Anchor Bolt ROWAN
Simulation - Modeled Bolt Preloads
Document 60193
Installation Instructions PENTADAPTER 5 Pattern Suzuki to Toyota Drive Line Adapters
How to install the cold air box: NOTES:
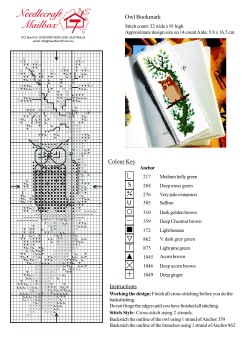
Owl Bookmark Colour Key
How to change the suspension on a 2006/2007 MKV VW...
NISSAN FRONTIER SLIDING BED EXTENDER KIT #40575 (INSTRUCTIONS)
HOW TO USE THIS MANUAL CONTENTS 1 2
How Usain Bolt can run faster – effortlessly
The 'How To' for changing the thermostat on the OM648... You will need: 1 - 2 hours of your time.
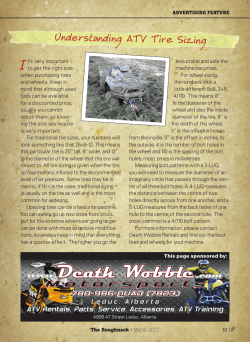
I Understanding ATV Tire Sizing
ARTS MANUAL P HYDRO OVERSEEDER MODELS:
© Copyright 2026
About abcdocz
DMCA / GDPR
Report