ABC
docz
Explore
Log in
Create new account
Download
Report
No category
Windows Movie Maker for Your Classroom Kathryn Staton, Education Specialist, WVPT
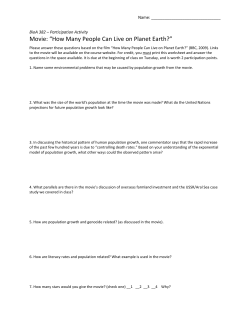
BioA 382 Worksheet: How Many People Can Live on Planet Earth?
FinePix S9900W / S9800 (PDF: Approx. 1.3MB)
Document 424289
The Hunger Games:
How to Use Windows Movie Maker to Create a Video
Windows Live Movie Maker What is Windows Live Movie Maker?
Windows Live Movie Maker Tutorial Introduction
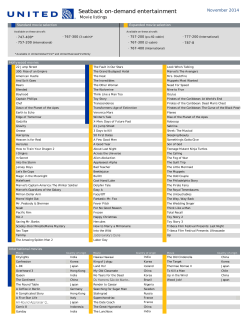
Seatback on-demand entertainment November 2014 Movie listings Standard movie selection
Noticeboard
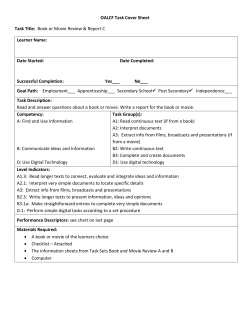
OALCF Task Cover Sheet Task Title: Learner Name:
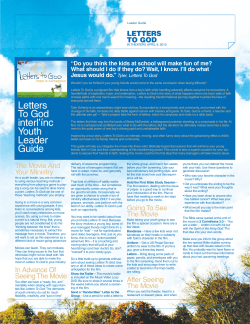
LETTERS TO GOD the movie and
STATE OF NEW YORK OFFICE OF GENERAL SERVICES RoAnn M. Destito, COMMISSIONER
© Copyright 2026
About abcdocz
DMCA / GDPR
Report